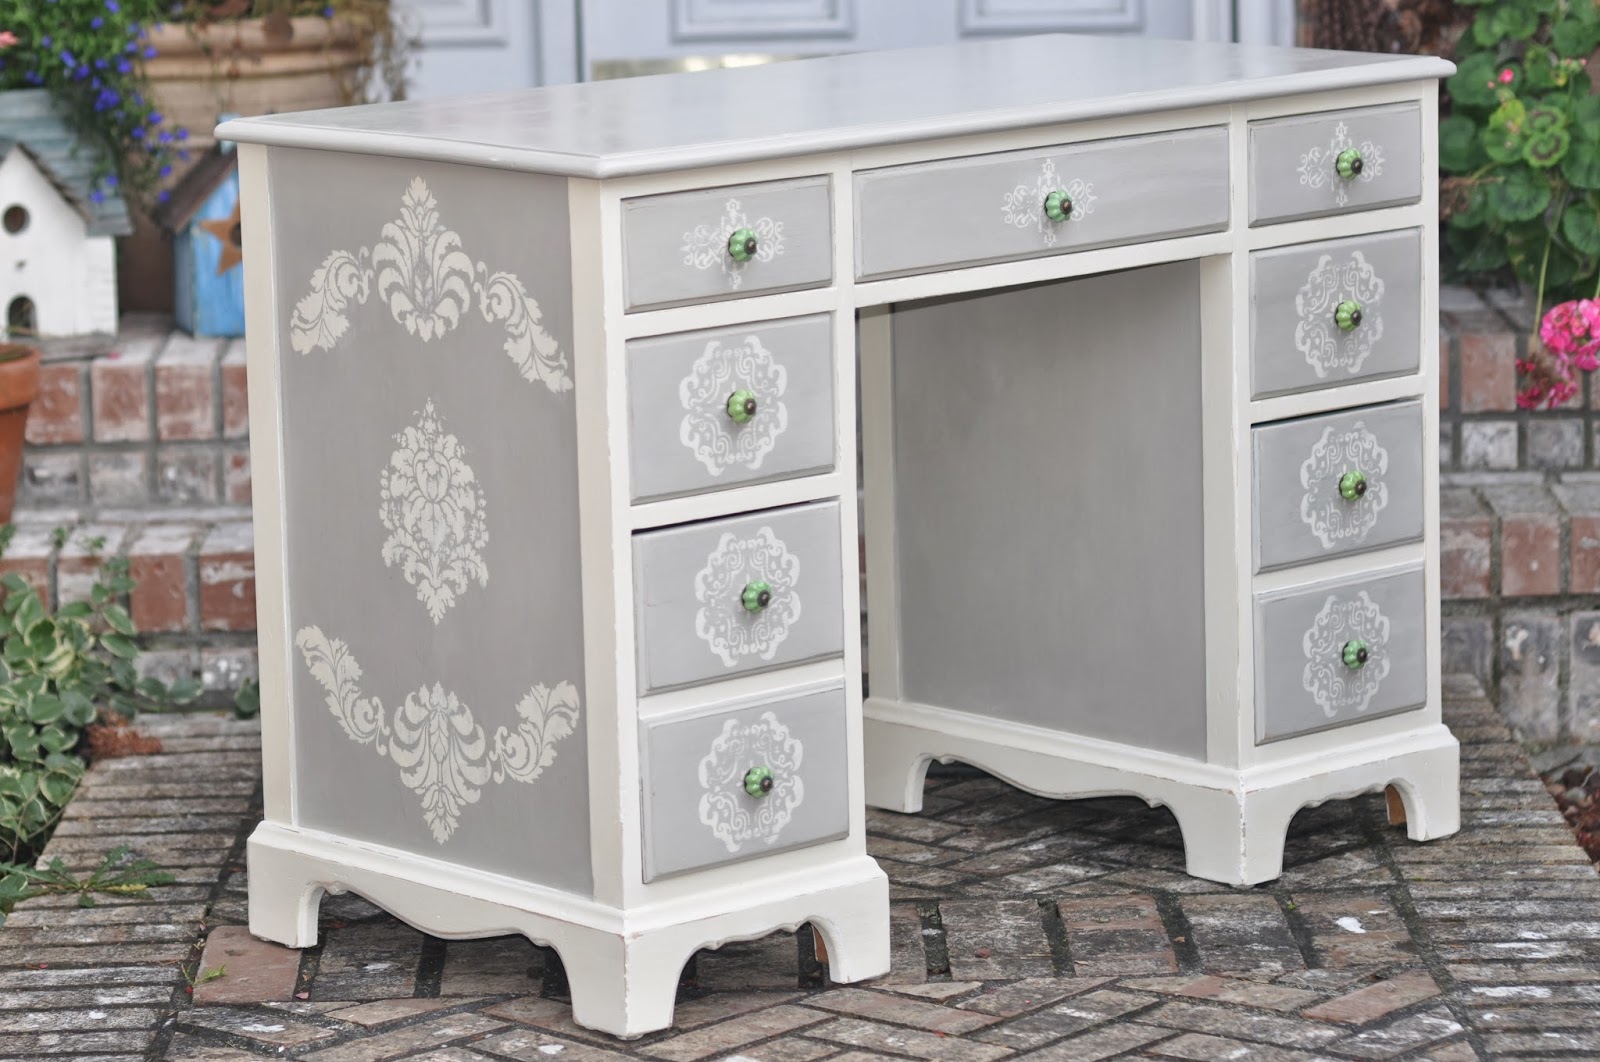
This is a wonderful desk that a client brought to me to paint. It had no structural issues, it was very solid and full of beautiful detail. As you look through the start to finish pay attention to detail, because I am adding even more detail than it starts with.


First job is to strip the top so it can be stained in a dark Kona color.

Drawers are degreased and clean and ready for paint.

Here is one coat of Kona stain, but it is the mahogany color is still popping through too much so I am going to do a second coat.

First coat of paint is on!

It's a start but there is so much left to do

Here is the added detail that is going to make this desk really stand out, embossed wallpaper. I originally bought this wallpaper at Lowe's and it is designed to be painted. Right now it is just set in there and not painted, just to see if it would work. All I did was paint a layer of chalk paint, and then cut the pieces to fit. Once I knew the pieces would fit in nicely I just followed the direction for the wallpaper. It is pre-pasted so all I had to do was dredge through water, fold in 1/2 paste side facing in, let set for 30 seconds then unfold and set in place. Then very gently I rubbed all the air bubbles out. I let it fully dry overnight before I painted the paper.

Here is my tester piece that helped me and the client decide what color to paint the desk. We picked the middle color and it is a mixture of mostly Old White and a little bit cocoa , Annie Sloan chalk paint.

To get the aged look on the embossed paper I painted it the same color as the desk, then I mixed a glaze mixture with a clear paint extender, and antique glaze from Lowe's . I brushed it all over the paper and dabbed off the excess. After it dried I did a dry brush technique with old white to make it pop.


I did have some bleed through with the original stain, so I had to do a spray shellac in those areas. I then put two more coats on, for a total of 3 coats of paint, and clear wax. Some people like to sand and shabby chic it after they wax, but I actually like to sand before waxing. I like a smoother finish, still shabby chic, but not to rustic looking.
Here is the final piece, and she is a beauty!!!