Provence Blue Desk

.JPG)
When I bought this desk at an estate sale it was covered in nick knacks so after I bought it and they took everything off of it I realized the top had faux leather, and not pretty faux leather either. It was damaged and discolored, so now my dilemma begins, what to do what to do! If I dig out the faux leather then I end up with an uneven surface. To replace it with real leather made for desks it was going to be too much money. I decided that since chalk paint adheres to anything why not faux leather?
Hold on to your hats, here we go!
You can also see pictures at:

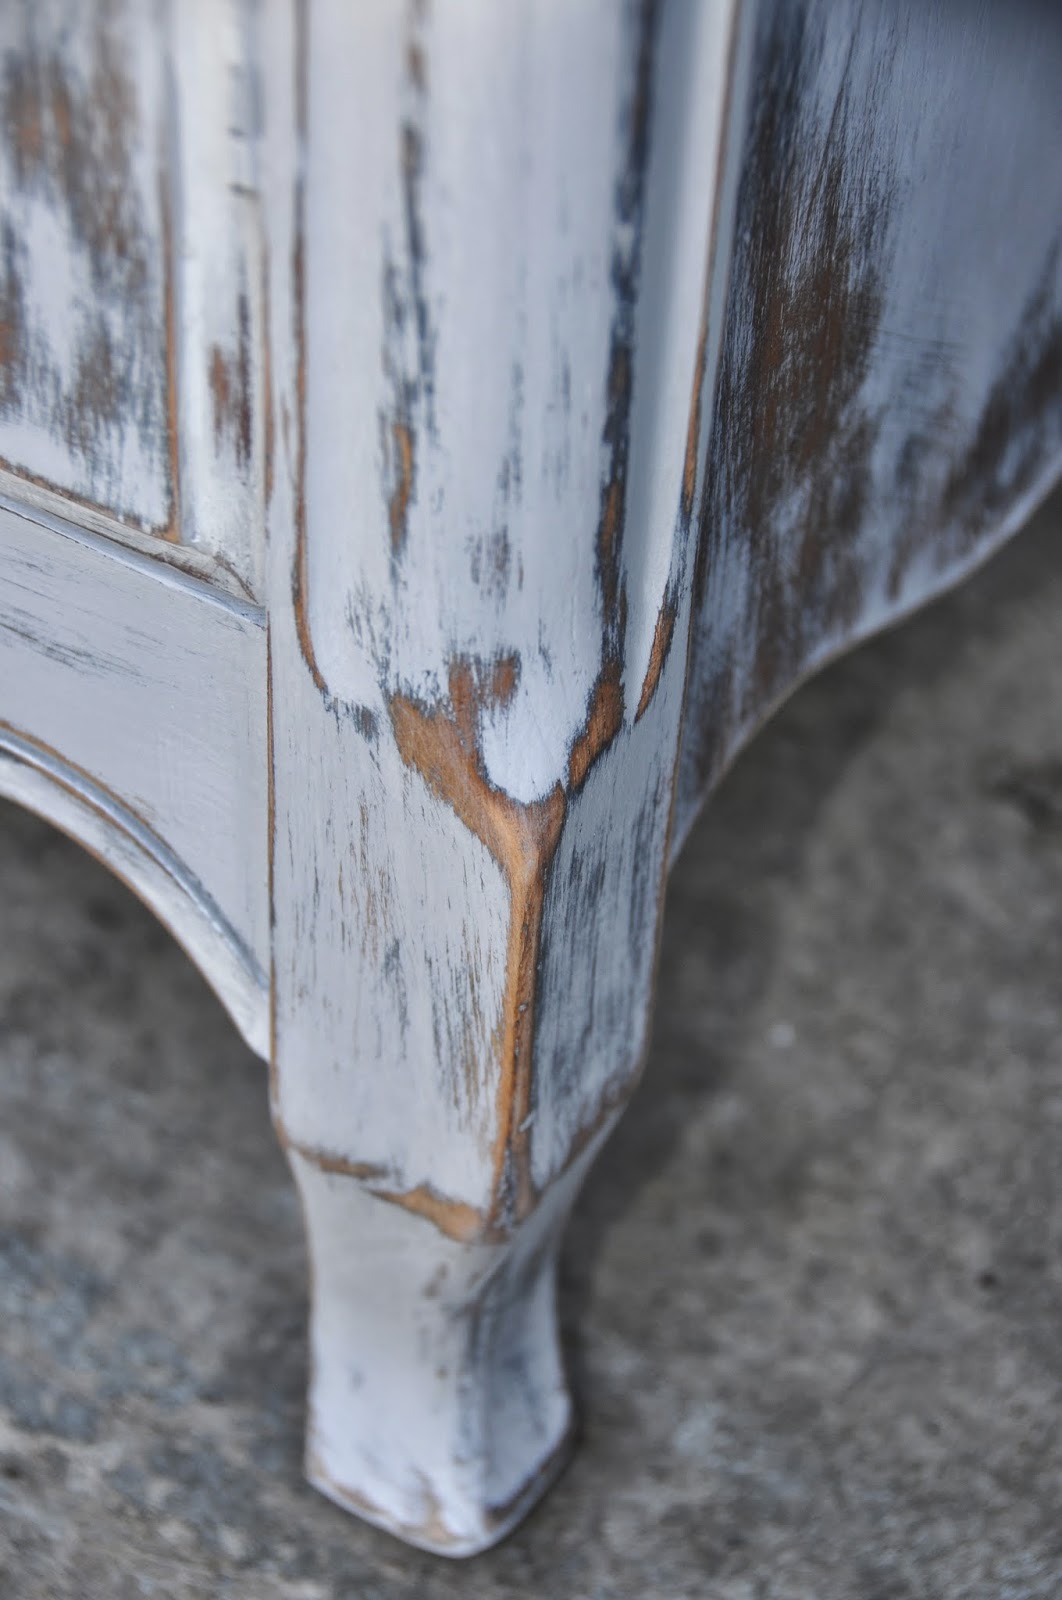
The faux leather top is a greenish yellow hue and not pretty. The rest is pretty beat up, nicks and dings everywhere. This desk is asking for new life.

.JPG)
I forgot to take pictures, but I stripped the varnish off the top and the drawers. And stained them with English chestnut stain.
Second coat of Provence Blue by Annie Sloan.
.JPG)
I used a wall stencil that I picked up from the craft store, and put my first layer of detail on.
.JPG)
I felt it was a little plain with just the one layer from the stencil so I decided to get out my little brushes and add hand detail. I used different shades of lighter greys and a little Old white ASCP. It really made a difference!

Hey you can't forget the inside, this desk wants to be pretty all over.

Yep we are back to the ugly top! After masking it off I got to painting the faux leather. I forgot to take pictures of this process, but basically I painted a couple of layers of French Linen with Annie Sloan chalk paint
.JPG)
Of course I could not leave it plain, it looked too naked, so once again out came the stencil and used the same technique as the rest of the desk. I also added some white wash detail to the nooks and crannies to give more dimension.
.JPG)
The back was a mixture of grey chalk paint, not even sure what ratios I used. I was trying to use up other paints that I had mixed for other projects. You don't want to waste chalk paint if you don't have to.

Put on some Clear wax and this baby is ready for a new home!
.JPG)
.JPG)
.JPG)
.JPG)
.JPG)
.JPG)
.JPG)
.JPG)


.JPG)
Ain't she pretty!